In this comprehensive WordPress VPS Installation Guide 2026, we will walk you through the process of hosting your own WordPress website on an Ubuntu server. While managed hosting is an option, running WordPress on your own Virtual Private Server (VPS) gives you unparalleled control, superior performance, and the ability to scale as your traffic grows. In 2026, speed is the most critical ranking factor, and nothing beats a finely-tuned LEMP stack on SarvHost’s NVMe infrastructure.
By the end of this tutorial, you will have a fully functional, secure, and lightning-fast WordPress site ready for global competition.
Prerequisites for WordPress VPS Setup
Before we begin this WordPress VPS Installation Guide 2026, ensure you have the following:
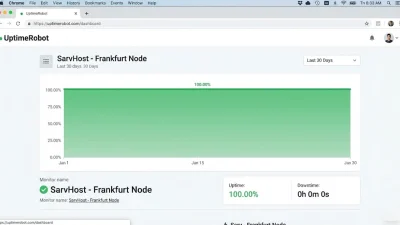
- A VPS with at least 1GB RAM (SarvHost Frankfurt or Netherlands nodes recommended).
- Ubuntu 24.04 or 26.04 LTS installed.
- A domain name pointed to your server’s IP address.
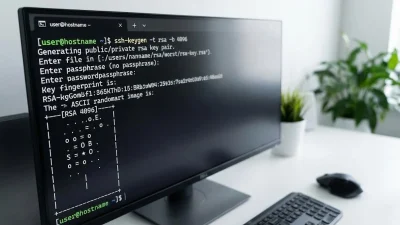
- SSH access to your server.
Step 1: System Update and Preparation
The foundation of any secure server is up-to-date software. Start by logging into your server and refreshing the package database.
sudo apt update && sudo apt upgrade -yThis ensures that all security patches for 2026 are applied before we install the web server components.
Step 2: Installing the LEMP Stack (Nginx, MySQL, PHP)
For high-performance WordPress hosting, the LEMP stack is superior to the traditional LAMP stack. Nginx handles concurrent connections much more efficiently than Apache.
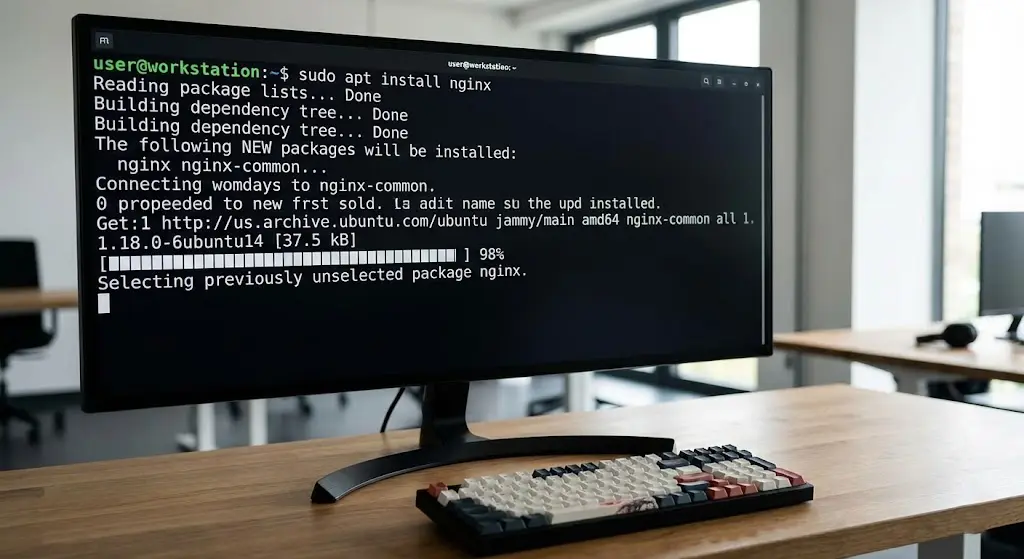
Installing Nginx
sudo apt install nginx -yInstalling MySQL (MariaDB)
Secure your database installation by running the security script:
sudo apt install mariadb-server -y
sudo mysql_secure_installation
Installing PHP 8.3/8.4
WordPress requires PHP to process dynamic content. In 2026, we use PHP-FPM for better resource management.
sudo apt install php-fpm php-mysql php-curl php-gd php-intl php-mbstring php-soap php-xml php-xmlrpc php-zip -y
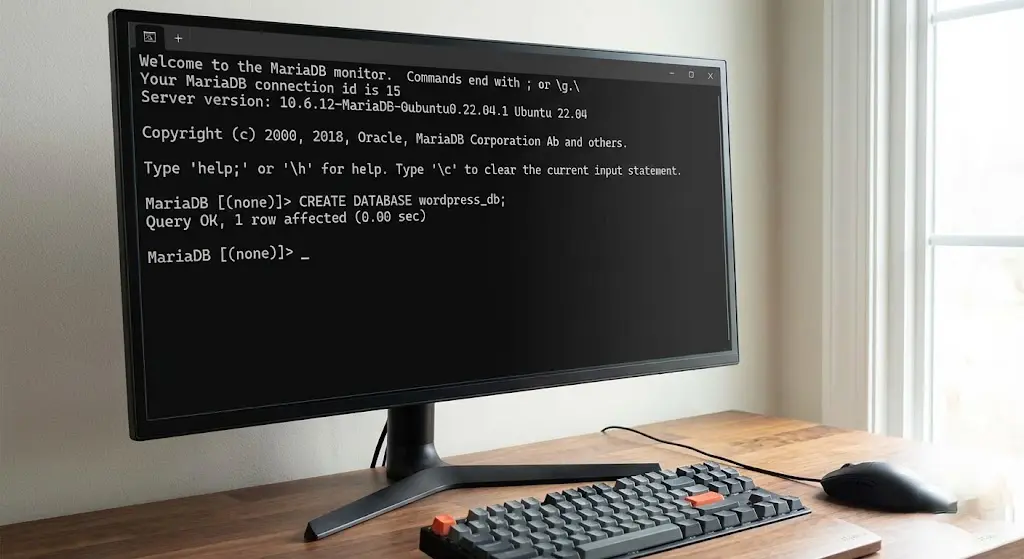
Step 3: Creating the WordPress Database
WordPress needs a database to store its posts, users, and settings. Let’s create a dedicated user and database for our installation.
sudo mysql -u root -p
CREATE DATABASE wordpress_db;
CREATE USER 'wp_user'@'localhost' IDENTIFIED BY 'your_strong_password';
GRANT ALL PRIVILEGES ON wordpress_db.* TO 'wp_user'@'localhost';
FLUSH PRIVILEGES;
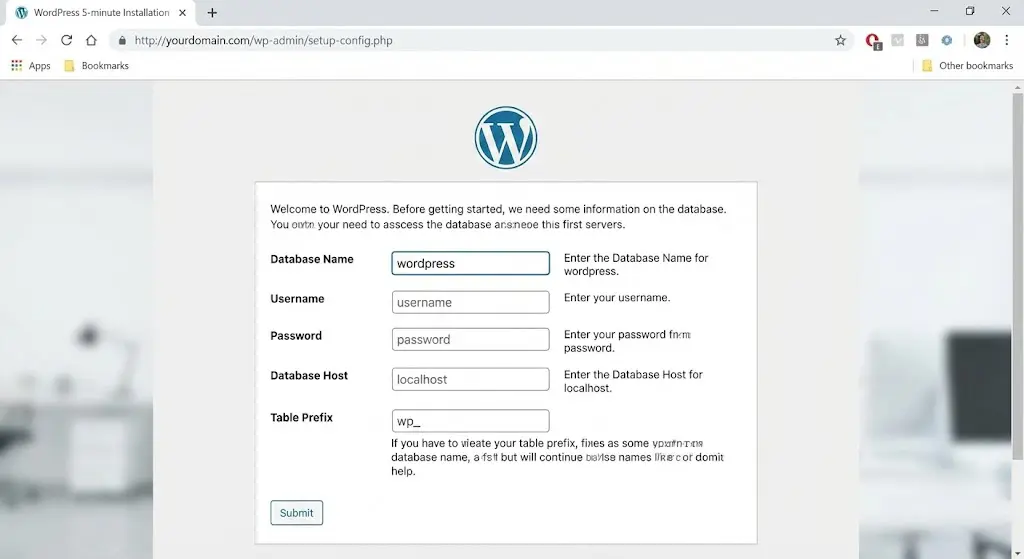
EXIT;Step 4: Downloading WordPress 2026 Edition
We will download the latest version of WordPress directly from the official source to the /tmp directory, then move it to our web root.
cd /tmp
curl -LO https://wordpress.org/latest.tar.gz
tar xzvf latest.tar.gz
sudo cp -a /tmp/wordpress/. /var/www/yourdomain.com
Set the correct permissions so Nginx can read and write files:
sudo chown -R www-data:www-data /var/www/yourdomain.comStep 5: Configuring Nginx for WordPress
This is a critical part of the WordPress VPS Installation Guide 2026. We need to tell Nginx how to handle WordPress PHP files and pretty permalinks.
Create a new configuration file:
sudo nano /etc/nginx/sites-available/yourdomain.comAdd the following configuration (optimized for speed):
server {
    listen 80;
    server_name yourdomain.com www.yourdomain.com;
    root /var/www/yourdomain.com;
    index index.php index.html;

    location / {
        try_files $uri $uri/ /index.php?$args;
    }

    location ~ \.php$ {
        include snippets/fastcgi-php.conf;
        fastcgi_pass unix:/var/run/php/php-fpm.sock;
    }
}
Enable the site and restart Nginx:
sudo ln -s /etc/nginx/sites-available/yourdomain.com /etc/nginx/sites-enabled/
sudo nginx -t
sudo systemctl restart nginx
Step 6: Securing with SSL (Let’s Encrypt)
In 2026, an SSL certificate is mandatory. Use Certbot to install a free Let’s Encrypt certificate in seconds.
sudo apt install certbot python3-certbot-nginx -y
sudo certbot --nginx -d yourdomain.com -d www.yourdomain.com
Step 7: Advanced Performance Optimization
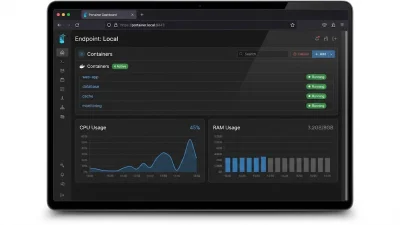
To truly follow this WordPress VPS Installation Guide 2026 for high-performance results, we must implement caching. We recommend FastCGI Caching at the Nginx level to reduce server response time to under 100ms.
Additionally, ensuring your VPS uses NVMe Gen5 drives (like those at SarvHost) will significantly improve the speed of your WordPress database queries.
Conclusion: Your Pro WordPress VPS is Ready
By following this WordPress VPS Installation Guide 2026, you have built a professional-grade hosting environment that outperforms most shared hosting providers. You now have a secure, scalable, and ultra-fast platform to grow your digital presence.
Ready to deploy your high-speed WordPress environment? Use promo code WELCOME2026 for a 25% lifetime discount on your next SarvHost NVMe VPS.
👉 Deploy Your WordPress VPS at SarvHost.net