In this comprehensive Ubuntu VPS Setup Guide 2026, we will show you exactly how to transform a freshly deployed Linux instance into a high-performance, secure environment. Whether you are running a Forex trading bot, an offshore website, or a private API, the steps you take in the first 10 minutes of deployment will define your server’s stability for the rest of the year.
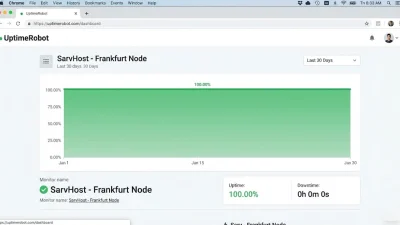
At SarvHost, we provide the raw NVMe power, but your configuration is what ensures 1ms latency and top-tier security. Let’s dive into the technical details.
1. Initial Connection and System Refresh
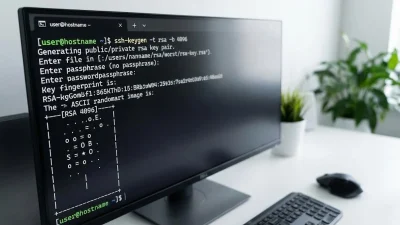
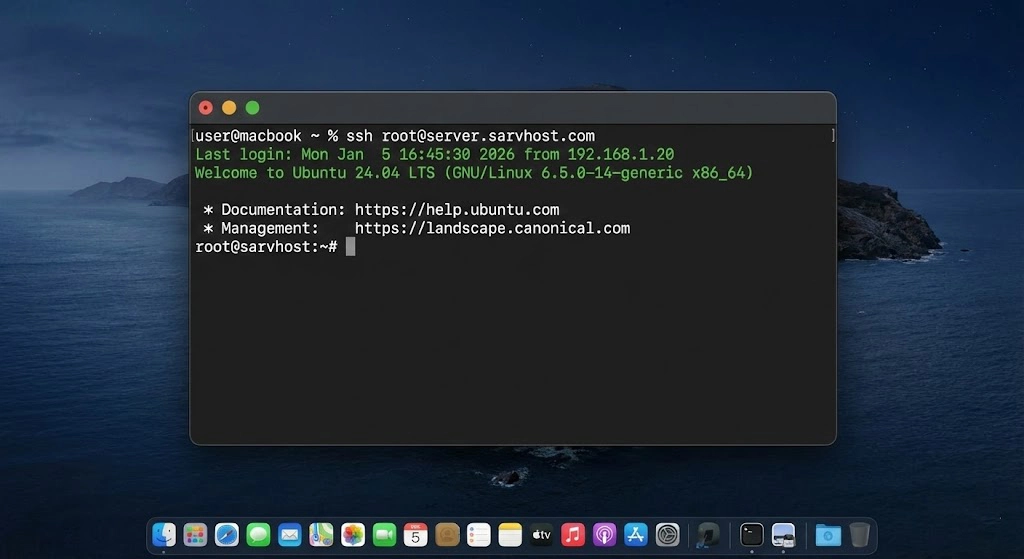
Before applying any optimizations, you must establish a secure connection. Use your terminal or PuTTY to log in as root.
ssh root@your_server_ipOnce logged in, the first step in this Ubuntu VPS Setup Guide 2026 is updating the repository index and upgrading all installed packages to their latest 2026 security patches:
apt update && apt upgrade -y2. Managing Users: Moving Away from Root
Executing commands as the root user is like driving without a seatbelt. In 2026, automated scripts target root accounts specifically.
Create a Superuser
adduser sarvadmin
usermod -aG sudo sarvadmin
Now, log out and log back in as sarvadmin. From now on, use sudo for administrative tasks.
3. SSH Hardening: Locking the Front Door
Standard VPS deployments use port 22, which is the primary target for brute-force bots.
Custom SSH Port
Edit the config: sudo nano /etc/ssh/sshd_config
- Change
Port 22to something unique, likePort 2244. - Change
PermitRootLogin yestoPermitRootLogin no. - Add
MaxAuthTries 3to limit failed attempts.
Restart SSH: sudo systemctl restart ssh
4. Configuring a Robust Firewall (UFW)
A crucial part of any Ubuntu VPS Setup Guide 2026 is the firewall configuration. The Uncomplicated Firewall (UFW) should only allow the specific ports you need.
sudo ufw default deny incoming
sudo ufw default allow outgoing
sudo ufw allow 2244/tcp   # Your new SSH port
sudo ufw allow 80/tcp     # Web Traffic
sudo ufw allow 443/tcp    # Secure Web Traffic
sudo ufw enable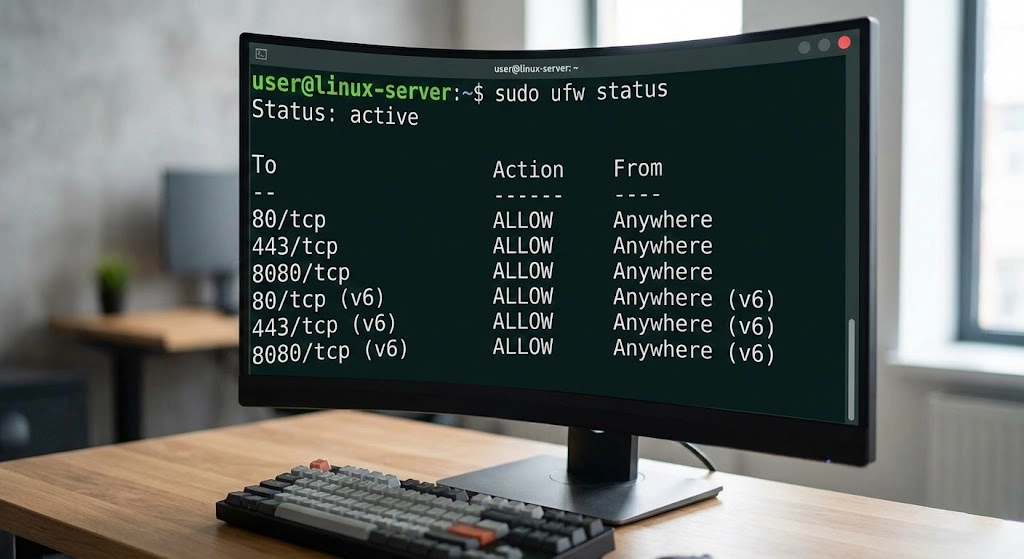
5. Adding Swap Space (Crucial for Small VPS)
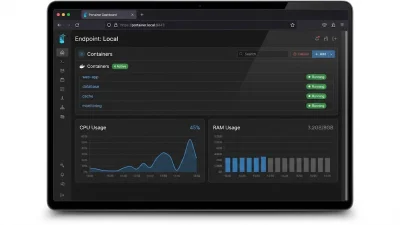
Many users forget to add Swap space, leading to “Out of Memory” errors when running heavy applications like MetaTrader or Docker. Swap acts as a safety net for your RAM.
Step-by-step Swap Setup (2GB):
sudo fallocate -l 2G /swapfile
sudo chmod 600 /swapfile
sudo mkswap /swapfile
sudo swapon /swapfile
echo '/swapfile none swap sw 0 0' | sudo tee -a /etc/etc/fstab
6. Network Optimization: Enabling Google BBR
For traders and high-speed applications, network congestion is a silent killer. Google’s BBR algorithm improves throughput and reduces latency by managing how data packets are sent.
Enable BBR in 2026:
echo "net.core.default_qdisc=fq" | sudo tee -a /etc/sysctl.conf
echo "net.ipv4.tcp_congestion_control=bbr" | sudo tee -a /etc/sysctl.conf
sudo sysctl -p
Confirm with: sysctl net.ipv4.tcp_congestion_control. You should see bbr.
7. Timezone and NTP Synchronization
Accuracy is everything in log analysis and financial trading. If your server time is off by even a few seconds, your EAs (Expert Advisors) might execute trades at the wrong time.
Set Timezone:
sudo timedatectl set-timezone UTC
sudo apt install ntp -y
8. Fail2Ban: The Automated Sentinel
To finalize the security section of our Ubuntu VPS Setup Guide 2026, we must install Fail2Ban. This service dynamically updates your firewall to ban IPs that show malicious behavior.
Check status: sudo fail2ban-client status sshd
9. Disabling IPv6 (If not needed)
In some network environments, IPv6 can cause delay or routing issues. If your broker or application doesn’t strictly require it, disabling it can simplify your security stack.
Add these to /etc/sysctl.conf:
net.ipv6.conf.all.disable_ipv6 = 1
net.ipv6.conf.default.disable_ipv6 = 1
10. Unattended Upgrades: Set and Forget
In 2026, manual patching is inefficient. Enable automated security updates:
sudo apt install unattended-upgrades
sudo dpkg-reconfigure --priority=low unattended-upgrades
Conclusion: Your High-Performance 2026 Server is Ready
Following this Ubuntu VPS Setup Guide 2026 ensures that your server is not just another “box in the cloud,” but a professionally hardened environment. By combining SarvHost’s 1ms Frankfurt infrastructure with these security and network tweaks, you are now ahead of 90% of your competition.
Ready to deploy another node? Get your next NVMe VPS at SarvHost.net and use code WELCOME2026 for a 25% lifetime discount.