Congratulations! You just received the “Server Activated” email. You are now the owner of a powerful NVMe VPS in Germany or the Netherlands.
You are probably eager to log in and check the speed. But wait. Stop right there.
Let’s be real for a second: The moment your server went online, it became a target. Thousands of automated “scanner bots” are constantly crawling the internet, looking for servers with Port 22 open and weak passwords. If you don’t secure your server now, you might wake up tomorrow to find it sluggish because someone is using your resources to mine crypto.
Don’t panic. Securing a Linux server (Ubuntu/Debian) isn’t rocket science. At SarvHost, we want you to be safe. Here is a 5-minute guide to turning your fresh VPS into a fortress.
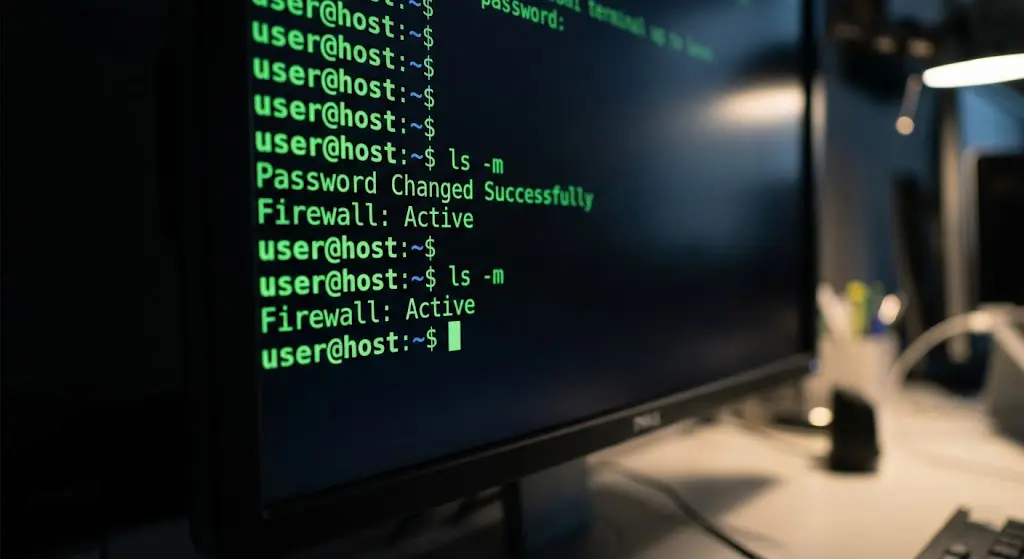
Step 1: Change the Default Password
We (and every other host) emailed you a root password. That means the password exists in an email, which isn’t 100% secure. The very first command you should type is:
passwdIt will ask for a new password. Pick something complex (mix numbers, symbols like !@#, and letters). Linux won’t show the characters as you type them—this is normal. Just type and hit Enter.
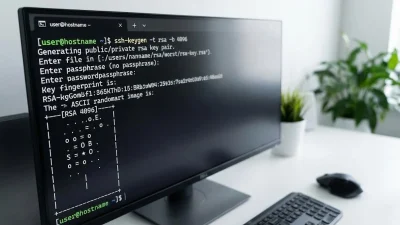
Step 2: Move the Front Door (Change SSH Port)
This is the single most effective trick to stop 99% of brute-force attacks. By default, SSH listens on Port 22. Every hacker knows this.
Let’s move it to a random number (e.g., 4567) so the bots knock on the wrong door.
- Open the SSH configuration file:
nano /etc/ssh/sshd_config - Find the line that says
#Port 22. - Delete the
#and change22to something like4567(any number between 1024 and 65535). - Press
Ctrl+X, thenY, thenEnterto save. - Restart the SSH service:
service sshd restart
Note: Next time you connect via PuTTY or Terminal, remember to change the port number from 22 to 4567!
Step 3: Update Your System
Think of this like brushing your teeth. It’s basic hygiene. Old software has bugs that hackers exploit. Run this magic command combo to update everything:
apt update && apt upgrade -yGo grab a coffee while it finishes.
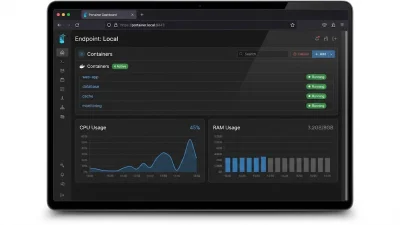
Step 4: The Bouncer (Enable UFW Firewall)
Ubuntu comes with a great firewall called UFW, but it is turned off by default. Let’s turn it on and only allow necessary traffic.
⚠️ WARNING: Before enabling it, you MUST allow your new SSH port (from Step 2), or you will lock yourself out forever!
ufw allow 4567/tcp
ufw allow 80/tcp
ufw allow 443/tcp
ufw enable
Type y to confirm. Now, your server will block all incoming connections except for your SSH and Web traffic.
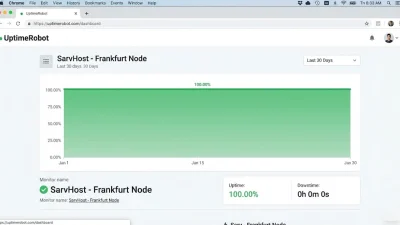
Step 5: Snapshots are Your Best Friend
Even pros make mistakes. Maybe you delete a critical file, or an update breaks your database. This is where Snapshots save your life.
Before making any major changes (like installing a trading bot or a VPN script), go to your SarvHost Client Area and take a Snapshot. It’s like a “Save Game” button. If you mess up, one click restores everything to how it was.

Final Thoughts
Security is not a product; it’s a process. But by following these simple steps, you have already made your VPS more secure than 90% of servers out there.
Enjoy your privacy and performance. If you need a server that respects your anonymity, check out our plans below.
🛡️ Get a Secure Anonymous VPS ($5.99)