In this comprehensive Docker VPS Setup Guide 2026, we will explore how to harness the power of containerization to streamline your application deployment. As we move through 2026, Docker has become the industry standard for developers who require consistency, scalability, and security across their environments. Whether you are running complex microservices, automated trading bots, or blockchain nodes, deploying them inside Docker containers ensures they remain isolated and performant.
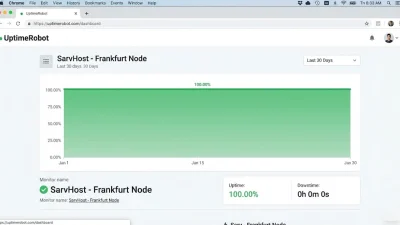
By leveraging SarvHost’s high-speed NVMe infrastructure, your Docker containers will benefit from ultra-low I/O latency, making your development workflow smoother than ever before.
Why Choose Docker for Your VPS in 2026?
Before we jump into the technical steps of this Docker VPS Setup Guide 2026, it is essential to understand the “Why”. Traditional software installation often leads to “dependency hell,” where different apps require conflicting versions of the same library. Docker solves this by packaging everything into a single container.
- Isolation: Each container runs in its own space, ensuring one app’s crash doesn’t affect others.
- Portability: Build once, run anywhere—from your laptop to your SarvHost Frankfurt VPS.
- Resource Efficiency: Unlike Virtual Machines, containers share the host OS kernel, making them incredibly lightweight.
Step 1: Preparing Your Ubuntu System
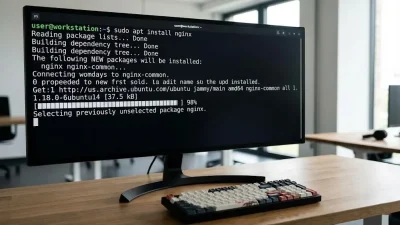
As with any professional setup, we start by ensuring our Ubuntu system is clean and updated. This prevents conflicts during the Docker installation process.
sudo apt update && sudo apt upgrade -y
sudo apt install apt-transport-https ca-certificates curl software-properties-common -y
In 2026, security is paramount, so ensure you are using the latest LTS version of Ubuntu for maximum stability.
Step 2: Installing Docker Engine
To ensure we get the most stable and feature-rich version, we will use the official Docker repository rather than the default Ubuntu one.
Add Docker’s GPG Key
curl -fsSL https://download.docker.com/linux/ubuntu/gpg | sudo gpg --dearmor -o /usr/share/keyrings/docker-archive-keyring.gpgSet Up the Stable Repository
echo "deb [arch=$(dpkg --print-architecture) signed-by=/usr/share/keyrings/docker-archive-keyring.gpg] https://download.docker.com/linux/ubuntu $(lsb_release -cs) stable" | sudo tee /etc/apt/sources.list.d/docker.list > /dev/nullInstall Docker Engine
sudo apt update
sudo apt install docker-ce docker-ce-cli containerd.io -y
Step 3: Post-Installation Steps & User Permissions
By default, Docker requires root privileges. However, as emphasized throughout this Docker VPS Setup Guide 2026, security is key. We should avoid running containers as root whenever possible.
To run Docker commands as a non-root user, add your user to the docker group:
sudo usermod -aG docker ${USER}Log out and log back in for the changes to take effect.
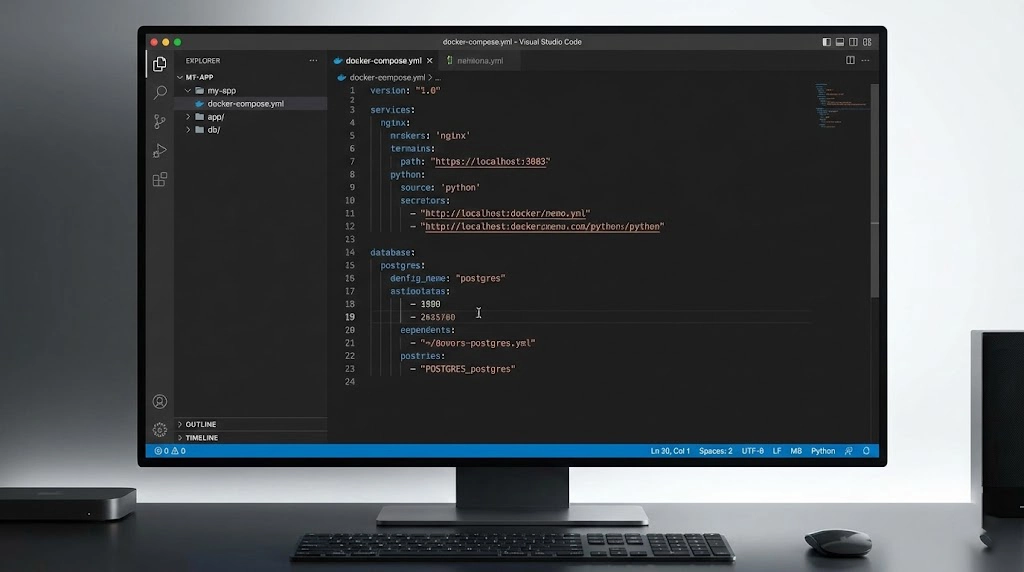
Step 4: Installing Docker Compose (V2)
In 2026, managing single containers is rare. Most professional setups use Docker Compose to manage multi-container applications (like a Web App + Database + Cache). Docker Compose V2 is now integrated into the Docker CLI.
sudo apt install docker-compose-plugin -y
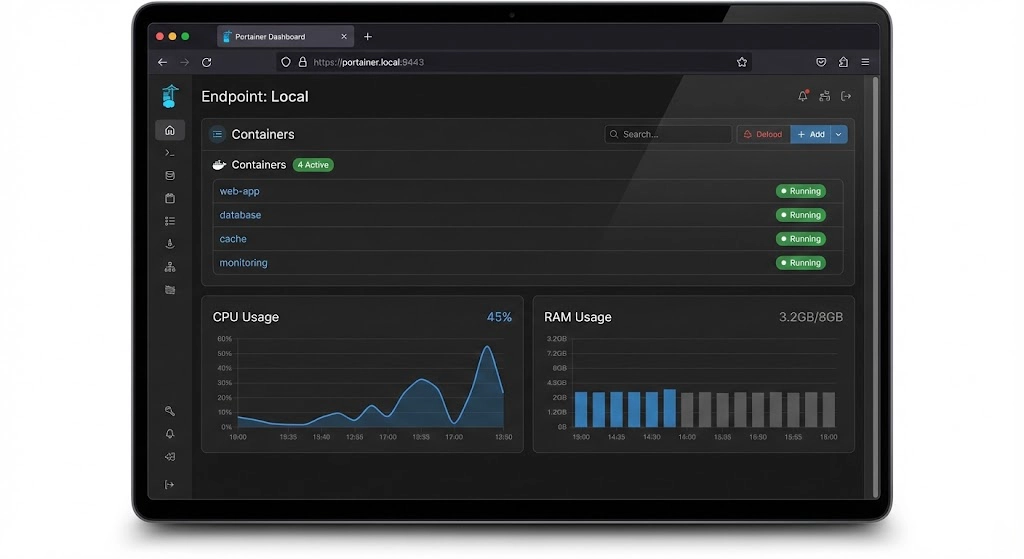
docker compose versionStep 5: Visual Management with Portainer
If you prefer a Graphical User Interface (GUI) over the command line, Portainer is the best tool for managing your VPS containers. It provides a sleek web dashboard to monitor CPU, RAM, and logs.
To deploy Portainer on your SarvHost VPS, run:
docker volume create portainer_data
docker run -d -p 8000:8000 -p 9443:9443 --name portainer --restart=always -v /var/run/docker.sock:/var/run/docker.sock -v portainer_data:/data portainer/portainer-ce:latest
Now you can access your dashboard at https://your-vps-ip:9443.
Step 6: Optimizing Docker Performance for NVMe Storage
One of the main advantages of using a SarvHost VPS is the Enterprise NVMe Gen5 storage. To ensure Docker takes full advantage of this speed, you should use the overlay2 storage driver, which is the default in 2026 for its efficiency and speed.
Additionally, for database-heavy containers (like MySQL or PostgreSQL), always use Docker Volumes to map data directly to the host’s NVMe drives. This bypasses the container’s filesystem layer and provides native disk speeds.
Step 7: Essential Docker Security Hardening
To wrap up this Docker VPS Setup Guide 2026, let’s look at three security must-haves:
- Limit Container Resources: Prevent a single container from consuming all your VPS RAM. Use
--memory="512m"in your run command. - Use a Firewall: Ensure UFW is configured to protect your Docker ports.
- Regular Image Scans: Use
docker scan [image_name]to check for vulnerabilities before deploying.
Conclusion: Scaling Your Infrastructure in 2026
Setting up Docker is a transformative step for any developer. By following this Docker VPS Setup Guide 2026, you have built a scalable, secure, and modern environment ready for any challenge. With SarvHost’s 1Gbps network and NVMe power, your containerized apps will run faster than ever.
Ready to deploy your Docker swarm? Use promo code WELCOME2026 to get a 25% lifetime discount on your next high-performance SarvHost VPS.
👉 Get Your Docker-Ready VPS at SarvHost.net