This Docker Portainer VPS Guide for 2026 is designed to take you from a command-line novice to a visual infrastructure expert. In the modern hosting landscape, efficiency is no longer a luxury—it is a requirement. While the Linux terminal is powerful, managing dozens of containers, volumes, and networks manually is time-consuming and prone to human error. By following this guide, you will transform your SarvHost VPS into a high-performance container environment managed through a beautiful web interface.
At SarvHost, we understand that developers and traders need reliability. Our NVMe-based infrastructure is the perfect foundation for this setup, ensuring that your Docker engine and Portainer dashboard respond instantly, regardless of the workload.
Why Use a Docker Portainer VPS Guide in 2026?
In the past, installing software directly on the host operating system was the norm. However, this often led to “dependency hell,” where different apps required conflicting versions of the same library. Docker solves this by “containerizing” applications, keeping them isolated and portable.
Portainer adds a necessary layer of abstraction. Instead of memorizing 50-character Docker commands, you get a Visual GUI. This Docker Portainer VPS Guide focuses on giving you total control over your server’s health, logs, and deployments without the headache of a complex CLI.
Phase 1: Prerequisites & System Preparation
Before diving into the installation, ensure your environment meets the following criteria:
- A SarvHost VPS running Ubuntu 22.04 or 24.04 LTS.
- At least 2GB of RAM (Docker is efficient, but Portainer and your containers need breathing room).
- Root or Sudo access to the server.
First, update your local package index to ensure all security patches are applied:
sudo apt update && sudo apt upgrade -yPhase 2: Installing Docker Engine (The Core)
The foundation of this Docker Portainer VPS Guide is the Docker engine itself. We recommend using the official Docker installation script for the most up-to-date and secure version.
curl -fsSL https://get.docker.com -o get-docker.sh
sudo sh get-docker.sh
Once the installation is complete, verify that Docker is running by checking the version:
docker --versionPro Tip: To manage Docker as a non-root user, add your current user to the docker group: sudo usermod -aG docker $USER.
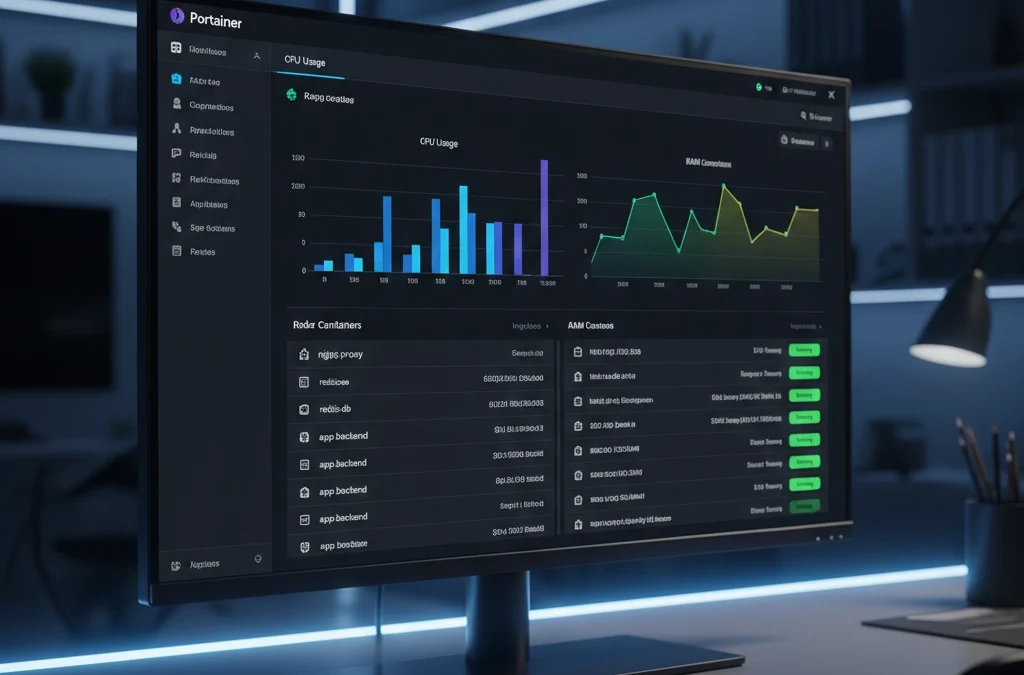
Phase 3: Deploying Portainer CE for Visual Management
Now comes the heart of our Docker Portainer VPS Guide. Portainer is actually deployed as a Docker container itself. This means it’s easy to update and manage.
Step 1: Create a Persistent Volume
You don’t want to lose your dashboard settings every time the server restarts. We must create a dedicated volume:
sudo docker volume create portainer_dataStep 2: Launch the Portainer Container
Run the following command to pull the latest Portainer Community Edition and start the service on port 9443:
sudo docker run -d -p 8000:8000 -p 9443:9443 --name portainer --restart=always -v /var/run/docker.sock:/var/run/docker.sock -v portainer_data:/data portainer/portainer-ce:latestPhase 4: Accessing and Securing Your Dashboard
With the services running, navigate to https://YOUR_SERVER_IP:9443 in your web browser. Note: Since you are using a self-signed certificate initially, your browser may show a security warning. Click “Advanced” and proceed.
Security Checklist:
- Strong Admin Password: Create a 16+ character password immediately.
- Disable Public Access: Use the Portainer settings to restrict access to specific IP addresses if possible.
- Enable SSL: Use Nginx Proxy Manager (another Docker container!) to put a Let’s Encrypt SSL certificate in front of your Portainer dashboard.
Advanced: Optimizing Docker for SarvHost NVMe Storage
Because SarvHost uses high-speed NVMe drives, you want Docker to utilize the storage efficiently. In your /etc/docker/daemon.json (create it if it doesn’t exist), add these settings to prevent log files from growing indefinitely:
{
  "log-driver": "json-file",
  "log-opts": {
    "max-size": "10m",
    "max-file": "3"
  }
}
Restart Docker to apply: sudo systemctl restart docker.
Conclusion: Mastering Your Infrastructure
By following this Docker Portainer VPS Guide, you have effectively turned your VPS into a modern cloud platform. You can now deploy WordPress, databases, or trading bots with a single click. This visual approach reduces downtime and allows you to focus on growing your business rather than fighting with server configurations.
Ready to start? Get your High-Performance VPS from SarvHost today and experience the speed of NVMe-backed containerization.
Last Updated: February 2026 | Verified for Ubuntu 24.04 LTS | Category: Server Management